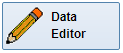
Samples Product Information Home Page Pricing Pricing

Manual Data Editing

NOTE: This tutorial covers just the methods for editing Data Cells within the Datasheet or Data Form. All the functions of the Data Editor are covered in greater detail in the Data Editor Tutorial
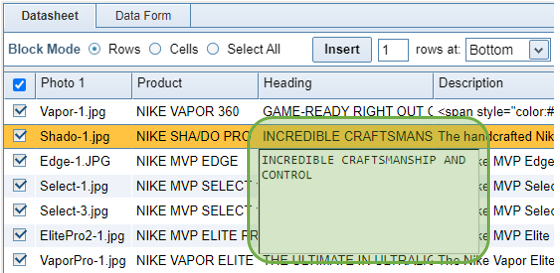
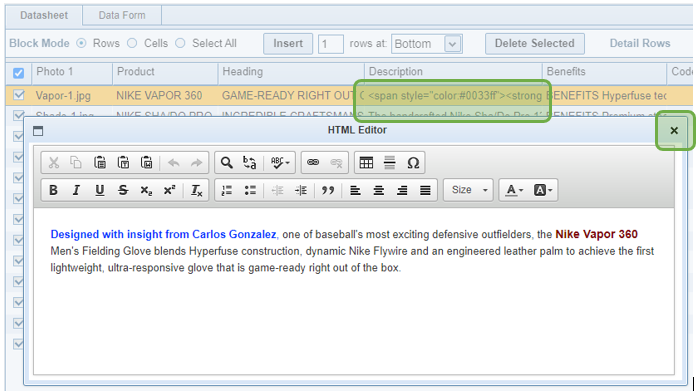
If you need to create categories, refer to the initial setup procedure in the Copying and Pasting Tutorial as it is the same as required for manual editing.


Cells

The Datasheet is a grid of cells very similar to a Spreadsheet. To edit a cell, simply double-click it. A different Editing Field will open, depending on the cell type.
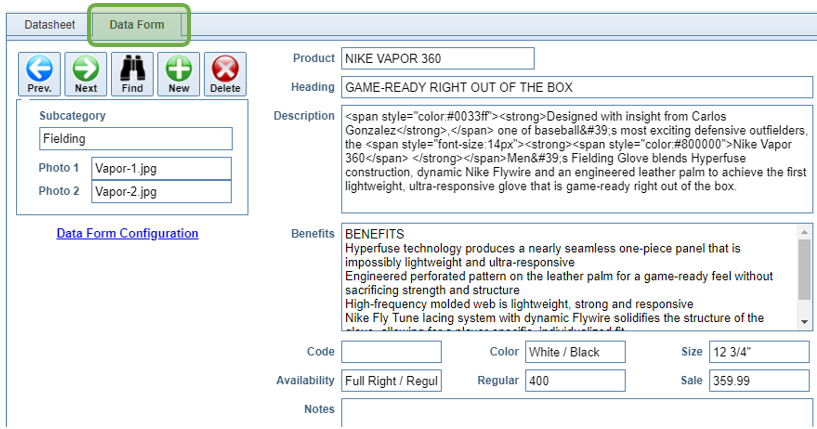
Standard Cell

Some cells will allow editing within the cell itself. Others will open a larger Editing Window directly below the cell.

This type of cell allows data with carriage returns for multi-line descriptions. Click anywhere outside the cell to close it and save your changes.


HTML Cell

The HTML Editor allows you to create inline formatting. You can change font colors, sizes, and even create tables or lists within the cell.

Click the X in the top-right corner of the HTML Editor to close it and save your changes.


Photo Cell

Click any Photo Cell to open the Photo Selection Tool.

Double-click any photo in the Grid to select it, or highlight it and click the Select button.

Click the Close button on the bottom-left to close the Tool.


The Data Form

There is an optional Data Form for those who prefer to view their products one at a time. The Data Form can be configured on the Category Editor. View the Data Form Configuration Tutorial for more information.

As with the Datasheet, simply Double-click any cell on the Data Form to open the appropriate Editor for the cell type.


Return to Tutorial Selection