 |
 |
 |
 |
 |
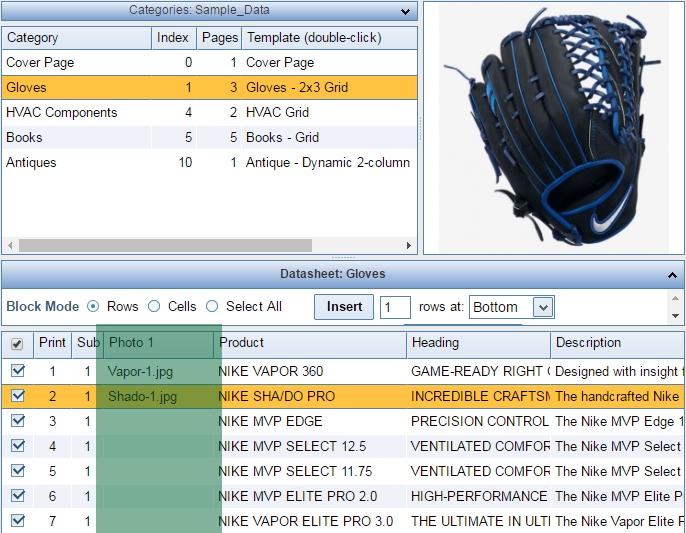
Adding a Product Photo
|
Image files can be uploaded and selected on the Data Editor page. |
|
|
Photo Selector

|
|
To assign an image, either double-click the thumbnail in the Preview Grid, or select it and then click Select at the bottom of the window. The name of the image file should now be displayed in the cell in the Photo Column and a preview of the image should be shown in the upper-right corner of the Data Editor form. NOTE: If you have a large number of images and know the name of the image file, you can just type it into the Select box at the bottom of the Photo Selector and click the Select button, to avoid having to search through the thumbnails. The No Photo button removes the image from the currently selected row of the Datasheet, but does not delete the photo. If you want to delete stored photos, click to highlight them in the Preview Grid and click the Delete Selected button. You can delete multiple photos at once by holding down the Shift of Control key on your keyboard while clicking photos in the grid. |
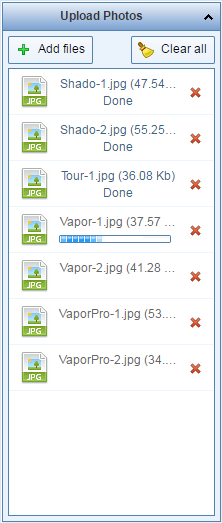
Uploading Images
|
|
|
By default, Images are saved in the root folder of your private directory. If you need to organize the files so that each category has its own folder, create that folder on the Category Editor form under the Photo Sub-Folder option. |