Samples Product Information Home Page Pricing Pricing

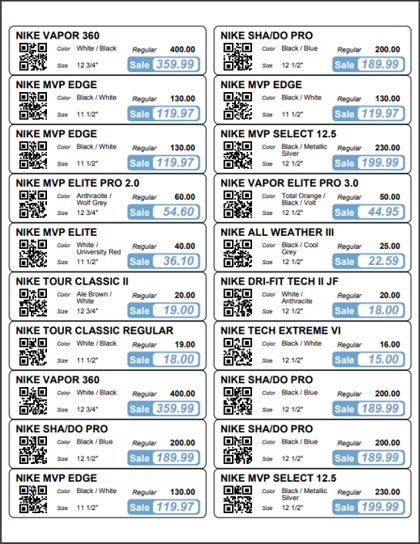
Printing Inventory Labels

CleverCat provides an easy method for printing labels from your existing product data.

If you record your inventory levels in the product database, you can automatically print a label for every product, just those products which are in stock, or any selected products.
Optionally, you can print any number of labels regardless of inventory levels.

The first step is to create a label template. Select a category on the Data Editor and click the Create New Template button at the top of the category window.


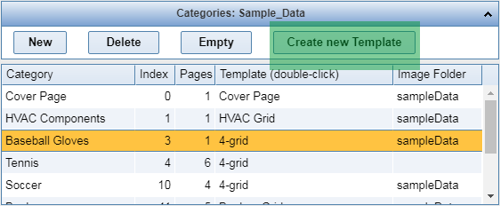
Create a New Template

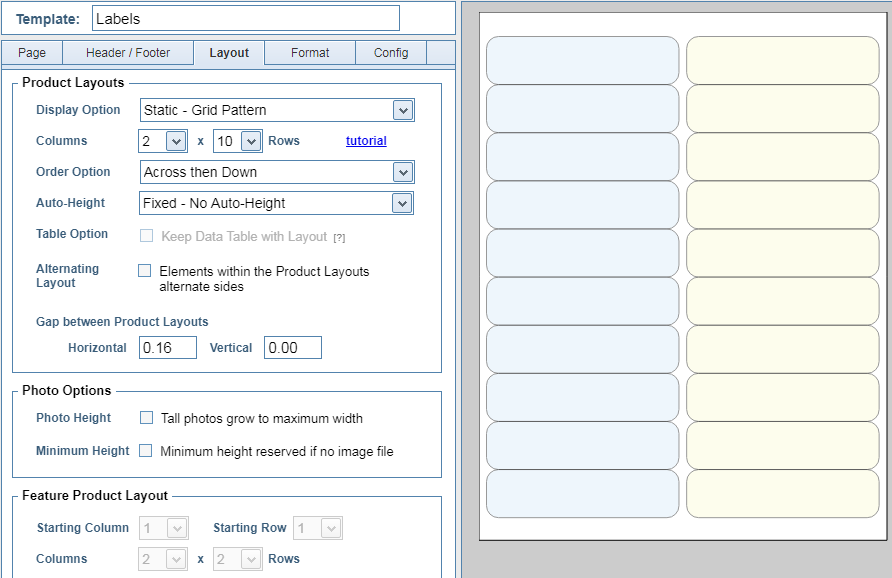
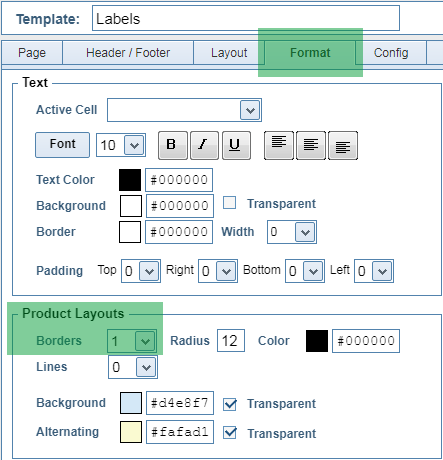
Using the Page and Layout tabs, create a Grid template with as many labels as you want to print on a sheet of paper.

If you are using pre-cut adhesive labels, it's not necessary to match the dimesions exactly unless you want to print to the very edge of the label. Normally, you can set the page margins on the Page Setup tab and the number of rows and columns on the Layout tab, and your product data will fit within the borders of the label.


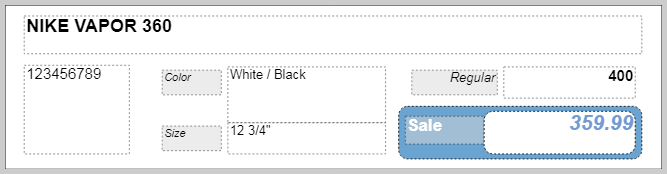
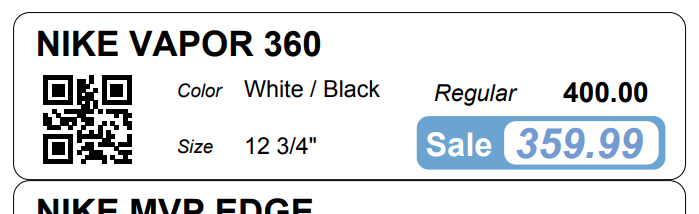
Here's a sample label layout on the Design Pad and a screenshot of how that label will look when printed.

NOTE: Assistance with template design is always available at no charge from Technical Support.


NOTE: In this example, a border has been placed around the label for illustration purposes only.

If you are cutting your own label sheets, you may want the border printed, but for pre-cut adhesive labels you'll normally want to turn it off.

The Product Layout Border setting is on the Format tab of the Page Setup form.


Return to Tutorial Selection or continue to the next tutorial: Label Data Selection