 |
 |
 |
 |
 |
Creating a Table of Contents
|
CleverCat can be used to create a Table of Contents, which will automatically draw information from your database. |
|
|

|
|
|
|
|
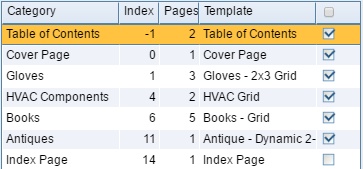
NOTE: The Rebuild option will not update the Category Index Number / Start Page if the Compact option is used. The Compact option allows each category to begin printing, mid-page, where the previous category ended, using the same template for all categories. With Compact, it is common for multiple, small categories to start on the same page. Changing the Index in this case will result in multiple categories having the same Starting Page, which will become confusing on future prints. |
Editing Your Table of Contents
|
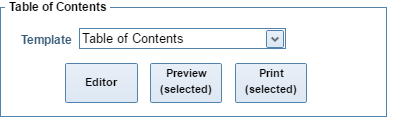
To edit the category options for your Table of Contents, go to the Table of Contents / Index tab on the Print Menu, select the template you want to edit from the drop-down menu, and then click Editor. This will bring you to the Category Editor page for the Table of Contents. You can set the Printed Label, which will change the name in the category list. You can also set the Option Text, which will appear in the Page Footer. |

|
|
The bottom half of the page allows you to select images to use in the Page Header and Page Footer. It also allows you to select an image to use as the Page Background. |
Templates for the Table of Contents
|
To edit the template for the Table of Contents, click Edit next to the PDF Template option. Alternatively, you can access this page from the Template Editor on the main menu sidebar. The Page Setup options are the same as for any other template, and thus the |
|
Clicking on the Next Page button on the sidebar will take you to the Layout Editor for the Table of Contents. Again, most functions have been covered in a previous tutorial, in this case the |

|
|
|
To edit Data Tables, click the Next Page button from the Layout Editor. This page works similarly to the Data Table Editor, and is discussed in more depth on the Data Tables tutorial. Below is an example of a Data Table used in a Table of Contents. |

|
|
In your Data Table, you will likely want to place both a Subcategory cell and a Page cell. The Subcategory cell will display the name of each Subcategory, while the Page cell will display the corresponding page number. |