Samples Product Information Home Page Pricing Pricing

Creating a Template

The most important thing you need to know about creating a template is that we can do it for you--at no charge.

The application comes with very few included templates. That's because a template is best designed to suit the data, rather than forcing the data to fit a pre-defined template.

Contact Us with details of what you need the template to look like, and we'll design it and add it to your list of available templates.


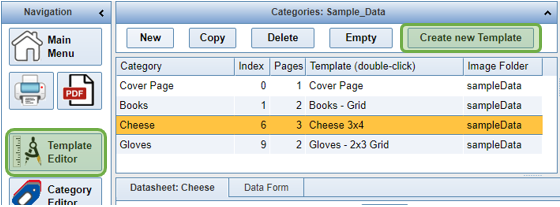
For those that prefer the DIY approach, the process is very simple. Begin on the Data Editor by clicking either Create New Template, to start from scratch, or Template Editor to work with the currently assigned template.


If you click Create New Template, you'll be asked to name the new template and then be taken directly to the Page Setup form.


The Page Setup Form

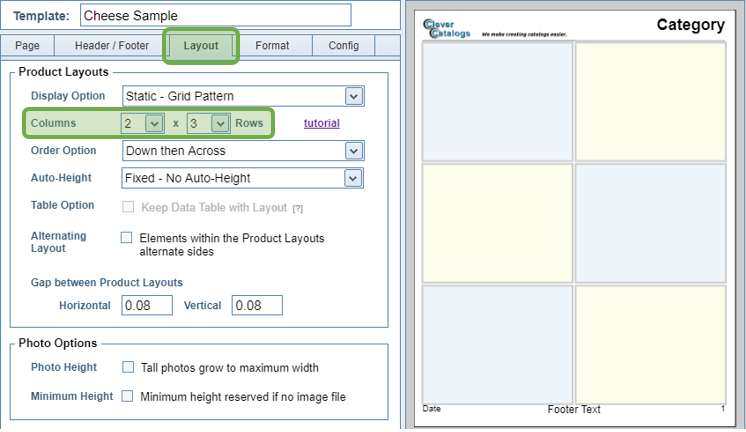
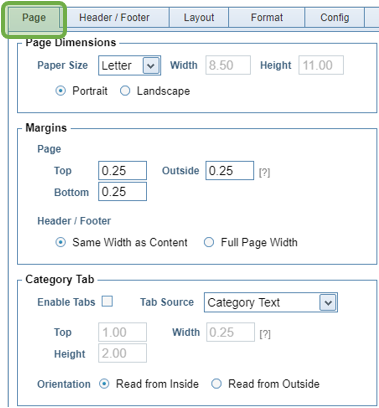
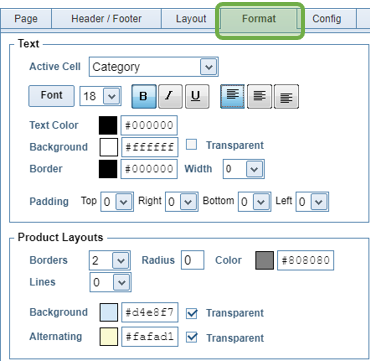
Page Setup is the first step in designing a template. The form will open to the Layout Tab, where most users will change the number of Columns and Rows. Those changes will be reflected immediately on the Design Pad on the right side of the screen.


Many options on the Page Setup form are self-explanatory. For example, on the Page Tab, you set the Page Margins, and the Paper Size and Orientation.


On the Header / Footer Tab, you'll select optional elements to print at the top of the page. These can include: Company Logo, Category Logo, Category Name, Subcategory Name, in a variety of different formats.

For the bottom of the page, your options include: Footer Text, Page Number, Date, Category, Subcategory, or an image, in a variety of formats.

Page Number Offset is how much you want to indent the page number from the margin. If you want to center the Page Number, enter any value greater than half the page width. Example: if you're working in inches with Letter-size paper, enter any number greater than 4.25, which is half of Letter's 8.5 inches.


NOTE: Images will expand to fit the space made available for them. For example, if your Company Logo has a ratio of 3:1, then a Header Height of one inch will result in the Logo printing at 3 inches wide. If you increase Header Height to 2 inches, your logo will print at 6 inches wide.


The different types of Product Layouts are described Here, but the most common Display Option is Static - Grid Pattern.

In addition to setting the number of Columns and Rows, you also set how the page is filled in a Grid template using the Order Option. Products can be ordered by Row then Column, or Column then Row.

Auto-Height is most often used with Dynamic Templates, where the height of the Product Layout can change to fit the amount of text. It can be used well with other styles, but you have to careful that you place the cells so that text is not cut off when it grows beyond the edges of the Layout.

The Photo Options are also used most often used with Dynamic Templates. Again, the designer must consider the full range of possible image sizes. For example, if most photos have a Width to Height ratio of 2:1, but a single photo has a ratio of 5:1, then planning for a two-inch-wide photo must consider that allowing Tall photos grow to maximum width could result in one photo printing at 10 inches tall.

Feature Templates, are described in a separate Tutorial.

Use the Active Cell Selector or click any text element on the Design Pad, to use the Formatting Options on that text.

When Borders is selected under Product Layouts, a solid border is printed around the entire Layout. Lines prints a vertical line separating Columns. When both options are used, Vertical and Horizontal lines separate the layouts.


NOTE: Colors are shown as their Hexadecimal value. Click that number to open the Color Palette, where you can enter RGB or Hex values, or use the color selector.


Return to Tutorial Selection